AWS Acccount Access
Setting up your AWS account
Once you’ve gained access to your provided AWS account we can begin configuring our environment.
This section outlines how to set up the environment to run the labs:
The first step we will be doing is creating an AWS Cloud9 IDE with the provided CloudFormation template. To accomplish this, we’ve created simple Cloudformation templates that you can deploy using CloudShell to automate the process using Infrastructure as Code.
Once you are logged into your AWS account, ensure you are in the US-East-2 region by clicking your current Region in the top right of your screen and clicking “US East Ohio us-east-2”

Alternatively you can navigate to Cloudshell by clicking the following link:

Once CloudShell has loaded copy and paste the following commands into your CloudShell terminal:
wget -q https://raw.githubusercontent.com/aws-samples/eks-workshop-v2/stable/lab/cfn/eks-workshop-ide-cfn.yaml -O eks-workshop-ide-cfn.yaml
aws cloudformation deploy --stack-name eks-workshop-ide \
    --template-file ./eks-workshop-ide-cfn.yaml \
    --parameter-overrides RepositoryRef=stable \
    --capabilities CAPABILITY_NAMED_IAM
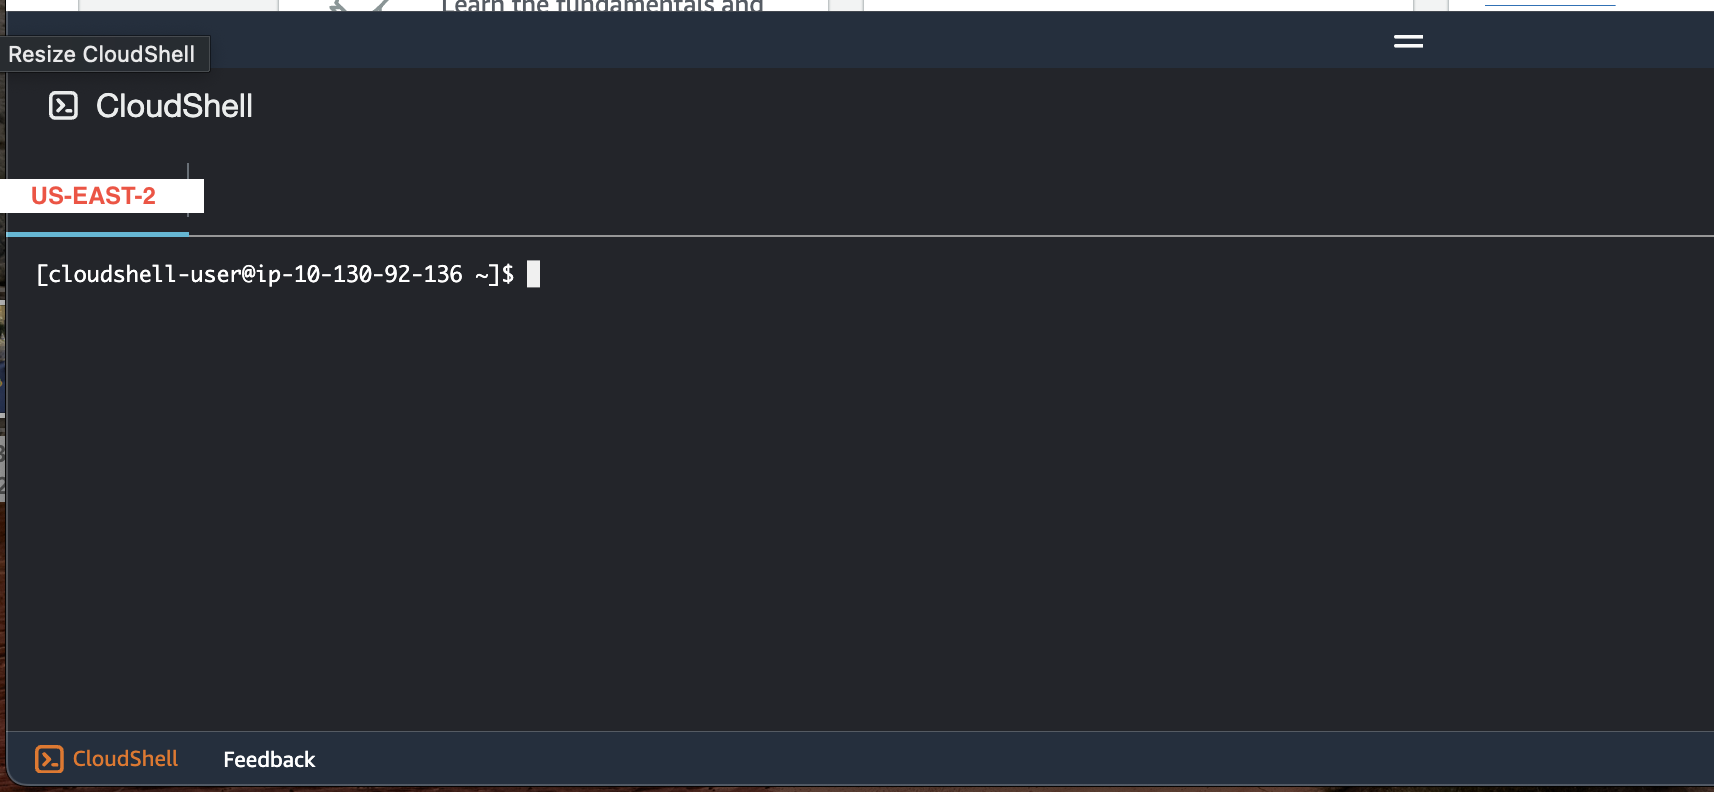
Your CloudShell should look similar to the example below after pasting your last command:

The CloudFormation stack will take between 5-10 minutes to deploy. Once complete, you will see
Successfully created/updated stack - eks-workshop-ide
Now run the command found below. This will provide us with a URL that will take us into our newly created Cloud9 IDE:
aws cloudformation describe-stacks --stack-name eks-workshop-ide \
    --query 'Stacks[0].Outputs[?OutputKey==`Cloud9Url`].OutputValue' --output text
Copy and paste the URL from this command and navigate to it using a new tab in your browser.

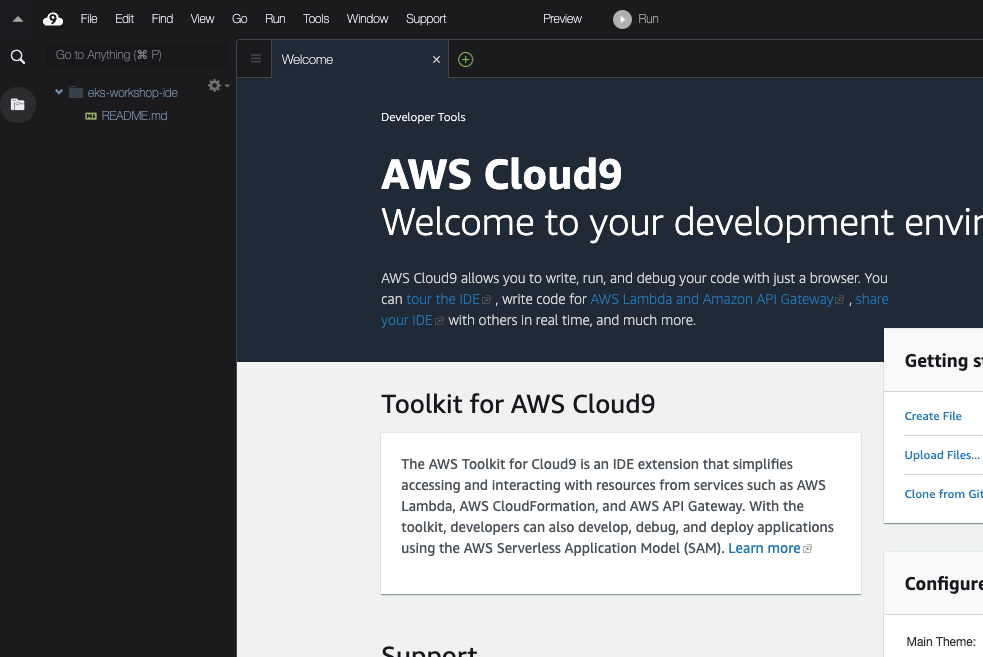
Your screen should look similar to the example below.

We will use Cloud9 for running all further commands. Let’s start by cloning a github repository that will provide us with all the YAML templates we will be using throughout the workshop.
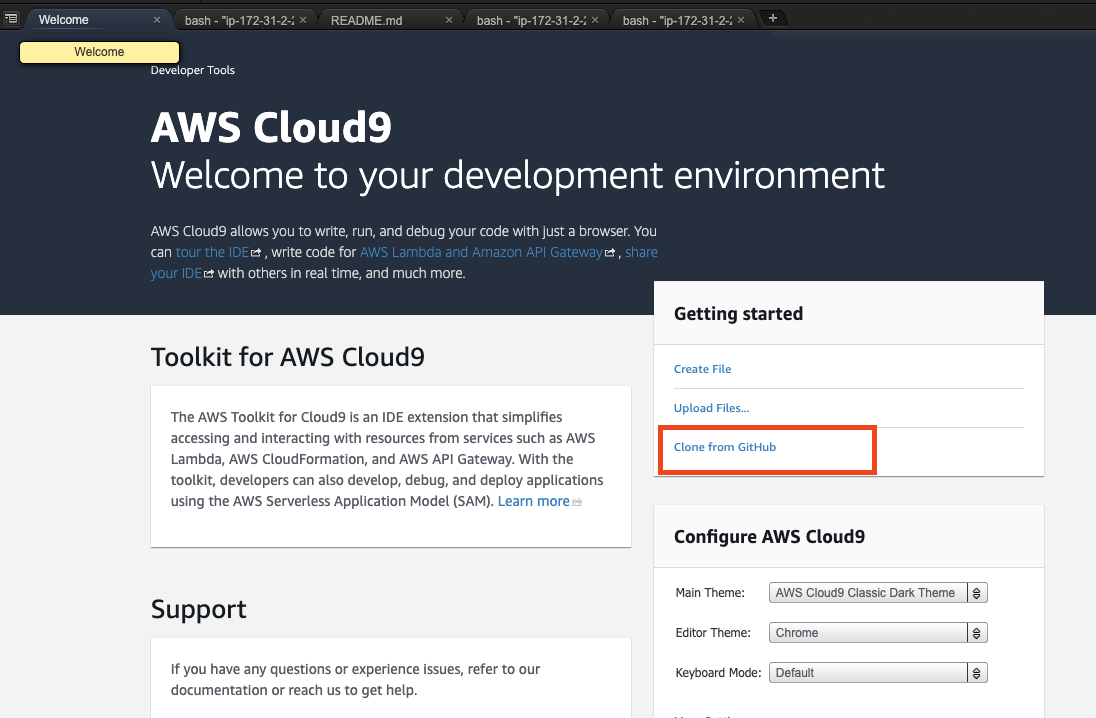
From your welcome page on Cloud9, select “Clone from Github” under the getting started section of the page.

This will launch a bash terminal in another tab of Cloud9 prompting you to paste the URL of the repository. Copy the URL shown below and hit ENTER. This will clone the repository into your IDE which will be shown on the left hand side.
https://github.com/zakspot/spot-workshop-template.git
(Your bash command should look like the one shown below)

And once the clone is complete, you should see the “spot-workshop-template” folder on the left side of your screen.

Let’s move on to the next page to create our EKS cluster.